Before installing Wall Tile Installation Denver, prepare your space, select tiles that complement your design, and gather necessary tools. Choose moisture-resistant underlayment for a solid foundation, mix mortar carefully, lay tiles precisely, and grout gaps consistently for a flawless finish. Consider eco-friendly options and local trends for a sustainable touch.
Thinking of tackling that wall tile installation in Denver yourself? You’re not alone. DIY tile projects can add beauty and value to your home. This comprehensive guide breaks down the process step-by-step, from preparing your space and choosing the perfect wall tile for your Denver aesthetic to installing underlayment and grouting for a flawless finish. Get ready to transform your walls with confidence.
- Prepare Your Space: Cleanup and Layout Design
- Choose the Right Wall Tile for Your Denver Home
- Gather Tools and Materials You'll Need
- Install Underlayment: A Solid Foundation for Tiles
- Apply Mortar and Lay Out Wall Tiles Carefully
- Grout Between Tiles for a Seamless Finish
Prepare Your Space: Cleanup and Layout Design
Before you begin your floor tile installation project in Denver, preparing your space is a crucial step. This involves thorough cleanup to ensure a clean canvas for your new tiles. Remove any furniture, appliances, or decorations that might be in the way. Vacuum and sweep the floor to get rid of dust and debris. If you’re installing wall tiles, pay special attention to the walls, ensuring they are free from cracks or holes. Patching and priming may be necessary if there are any imperfections.
Layout design is another essential aspect of the preparation process. Plan out your tile arrangement, considering factors like size, shape, and color. For wall tiles, think about creating eye-catching designs—from classic mosaics to contemporary geometric patterns. You can even mix and match materials for a unique look. With proper Wall Tile Maintenance and Care Denver, your new installations will last for years, enhancing the beauty of your space. Consider exploring Laminate Flooring Installation Denver options as well, offering a versatile and cost-effective alternative. Explore the various wall tile designs for bathrooms Denver to inspire your project.
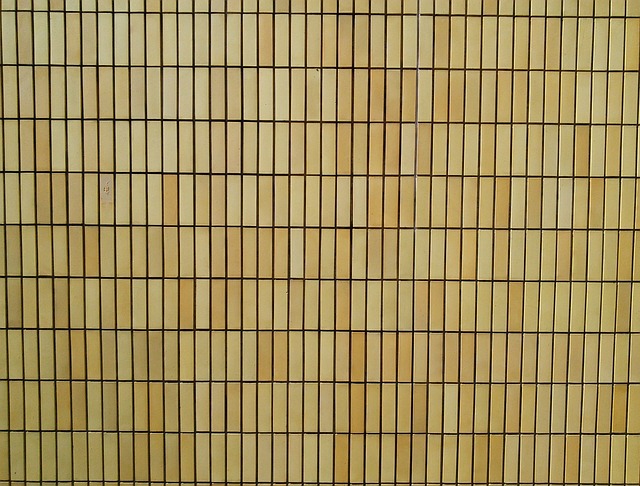
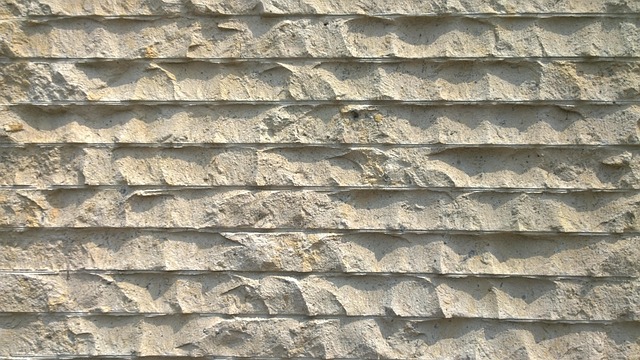
Choose the Right Wall Tile for Your Denver Home
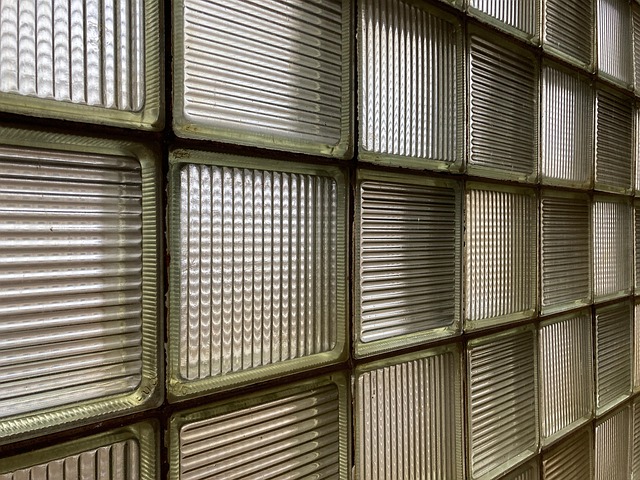
When it comes to transforming your Denver home with Wall Tile Installation Denver, selecting the perfect tile is a crucial step in the process. The right wall tile can enhance the aesthetics and overall ambiance of any space, making it essential to choose a style that aligns with your design vision. Consider the theme and décor of the room—whether contemporary, traditional, or something unique—and select tiles that complement or contrast to create an eye-catching feature.
Damaged or outdated wall tiling in Denver can be a common issue, but it doesn’t have to define your home’s style. Restoring damaged wall tiling Denver is a service offered by top-rated wall tile companies Denver, ensuring your walls look as good as new. From elegant mosaics to textured designs, there are countless residential wall tile fitting Denver options available to suit every taste and budget. Choose wisely, and you’ll create a stunning backdrop for years to come.
Gather Tools and Materials You'll Need
Before you begin your Wall Tile Installation Denver project, make sure to gather all the necessary tools and materials. This includes tiles specific to your design preference, a suitable adhesive for wall tile installation Denver, spacers for evenly placing tiles, and a trowel or grout float for applying the adhesive and grouting between tiles. Additionally, you’ll need safety gear such as gloves and eye protection, as well as a level to ensure your tiles are laid flat and straight. For LVT flooring Denver projects or restoring damaged wall tiling Denver, consider acquiring a heat gun for removing old adhesive or a saw for cutting tiles to fit odd spaces. Insulating wall tile backer boards can also be beneficial for maintaining the integrity of your new installation.
Install Underlayment: A Solid Foundation for Tiles
Before laying down your floor tiles, establishing a solid foundation is paramount for a lasting and level installation. This begins with installing underlayment—a protective layer that sits between the flooring and subfloor. In Denver, where varying climates can impact home conditions, choosing the right underlayment is crucial. Opting for a high-quality, moisture-resistant underlayment ensures your wall tiles (wall tiles Denver residents often prefer for their aesthetic appeal) remain secure and protected from potential damage caused by humidity or temperature fluctuations.
Ecological wall tile choices in Denver are increasingly popular among homeowners conscious of environmental impact. When selecting an underlayment, consider eco-friendly options that contribute to a greener home. Many tile installation contractors Denver offers utilize innovative, sustainable materials that not only provide excellent support for wall tiles Denver homes require but also align with the growing demand for ecological living spaces.
Apply Mortar and Lay Out Wall Tiles Carefully

When it comes to Wall Tile Installation Denver, one crucial step is applying mortar and carefully laying out your wall tiles. Start by mixing the mortar according to the manufacturer’s instructions, ensuring a smooth consistency for even application. Using a trowel, spread the mortar evenly on the back of each tile, covering the entire area where it will be placed. This ensures proper adhesion, which is vital for durable wall tile installation Denver.
For DIY wall tile installation guide Denver, precision is key. Lay out your tiles on the floor or substrate, aligning them carefully to create a straight and even line. Consider using spacers to maintain consistent gaps between the tiles. Once the mortar has reached its tacky stage (as per the manufacturer’s guidelines), gently press each tile into place, ensuring it is flush with the adjacent tiles. This meticulous process, coupled with effective tile cutting techniques for professionals, will result in a seamless and aesthetically pleasing LVP flooring Denver finish.
Grout Between Tiles for a Seamless Finish

When installing floor tiles yourself, especially for wall tile installation in Denver, paying close attention to grouting is crucial for achieving a seamless finish. Grout acts as the material that fills the spaces between tiles, providing both structural support and aesthetic appeal. After laying your tiles, it’s essential to apply grout with precision, ensuring it seamlessly bonds with your new floor. This step requires patience and careful measurement to create an even layer.
For an efficient wall tile installation Denver residents can be proud of, consider using a grout tool for precise application. Start by spreading the grout evenly across the back of each tile before pressing it firmly into place. Fill the gaps between tiles consistently to avoid unsightly lines or gaps. Once the grout is in, wipe away excess material with a damp sponge, leaving behind a clean, even surface. This meticulous process ensures your newly installed floor looks polished and professional, saving you money on refinishing hardwood floors Denver services might otherwise require.
Installing wall tiles yourself can be a rewarding DIY project, especially in the vibrant Denver landscape. By carefully preparing your space, choosing the right materials, and following these steps outlined in our guide, you’ll achieve professional-looking results. Whether you’re enhancing an existing space or starting fresh, mastering the art of wall tile installation will not only add value to your Denver home but also provide a beautiful, lasting tapestry that stands the test of time.